How to use Firebase in your Next.js Project
Stewart Granger Flores - 15 Noviembre, 2020

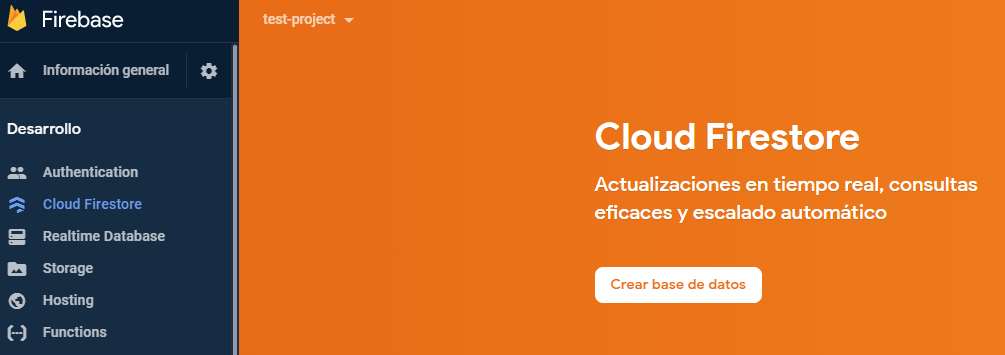
1.- Creating your project
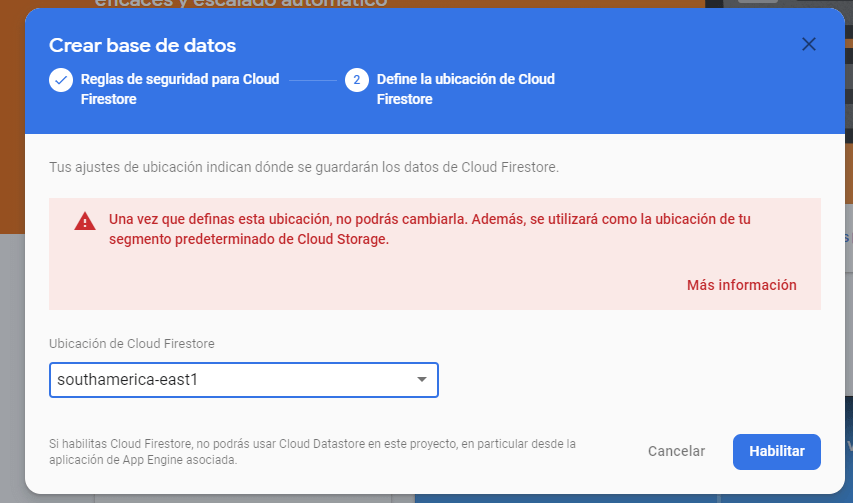
1.1 Creating our Firestore DB


2.- Associating an application to our Firebase project
What is the private key?
    {
        type: "",
        project_id: "",
        private_key_id: "",
        private_key:"",
        client_email:"",
        client_id: "",
        auth_uri: "",
        token_uri: "",
        auth_provider_x509_cert_url: "",
        client_x509_cert_url:"",
   }
This is where we will get the values of our environment variables.
3.- Create Firebase configuration
Now with the necessary keys to configure our project, we will create a file in our project root path named .env.local. Here we will write only the data we need:
    FIREBASE_PROJECT_ID = "test-project"
    FIREBASE_CLIENT_EMAIL = "firebase-adminsdk-ejobd@test-project...eaccount.com"
    FIREBASE_PRIVATE_KEY = "-----BEGIN PRIVATE KEY-..."
Once this data is created, we can use it in our Lambda functions.
3.1.- Create Firebase Configuration
In order to use this configuration we need to install the firebase-admin NPM package, so we will do the following
npm install firebase-admin --save
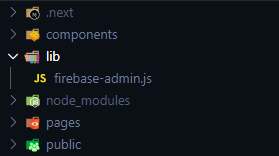
We create a folder in the root of the project called lib and inside the lib folder we create a file called firebase-admin.js

Here inside we can paste this base configuration
    var admin = require("firebase-admin");

    try {
      admin.initializeApp({
        credential: admin.credential.cert({
          project_id: process.env.FIREBASE_PROJECT_ID,
          private_key: process.env.FIREBASE_PRIVATE_KEY,
          client_email: process.env.FIREBASE_CLIENT_EMAIL,
        }),
        databaseURL: "https://test-project.firebaseio.com",
      });
    } catch (error) {
      if (!/already exists/u.test(error.message)) {
        // eslint-disable-next-line no-console
        console.error("Firebase admin initialization error", error.stack);
      }
    }

    export default admin.firestore();
Note: the databaseURL is in the service accounts window we accessed in the first step.
Ready :)
Now we can use in our Lambda endpoints the database we created in Firestore by importing in our NodeJs environment from Next.js located at /pages/api
import db from "../../../lib/firebase-admin";